Uploads, deletions and modifications to phpMyAdmin databases
The creation of the structure of a table can be done with a visual interface like phpMyAdmin, it is easier in this way than with SQL code.

In the previous chapter, we have created a table.
This task of creating or defining the structure of a data table will always be done by means of a visual interface (such as phpMyAdmin or similar), since it is much easier to do it in this way than by handwritten SQL code.
On the contrary, the tasks of manipulating data within the table already created, we will do from PHP pages created for this purpose: we will create a backend or administration panel, which will consist of a series of pages protected with username and password; pages that will be used by the owner or managed of the site, where this authorized person will use forms that, once completed, will add records to any of our tables, you can modify the value of some field of a certain record and, also, you can delete them.
But, until we learn what is necessary to do those tasks using SQL language codes, we will temporarily use the phpMyAdmin and perform "visually" the main tasks of managing the content of a table, which are:
- Add new records
- Delete records
- Modify records
- See a list of records
These operations of manipulating the data of a table are known as the ABM process (acronyms of "High", "Low", "Modifications").
Some add to this acronym a last letter L or C (the initial of "Listings" or "Queries", respectively), calling it ABML or ABMC.
We also added another task: make a backup (backup) and restore it.
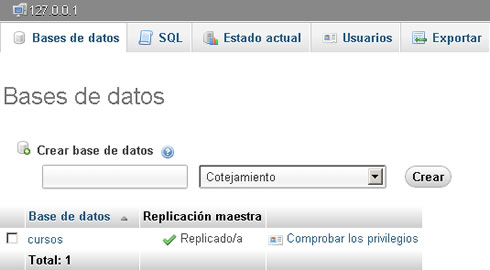
We start by entering the phpMyAdmin and selecting the base courses:
Then, once we are working with the base courses, we will see in the menu of the left column a list with the tables that contains this base (for now there is a single call message), and we press its name:
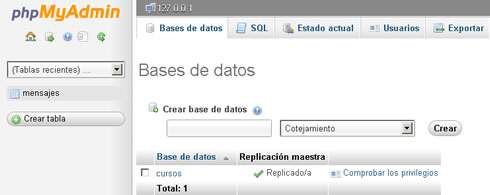
When we click on the name of our message table, we will see the "structure" of the table, (its data fields, etc.), but not its "content".
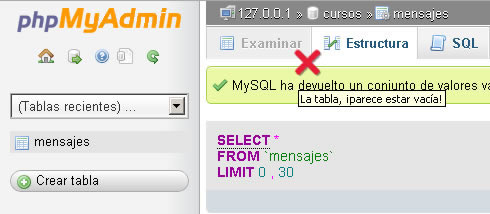
We can even realize that there are still records with data inside the table, because a "forbidden" icon will appear on our cursor when we pass over the link of the word "Examine" (since the table is empty, there is nothing that we can examine):
Then, it was time to insert data into our table.
Register a registration
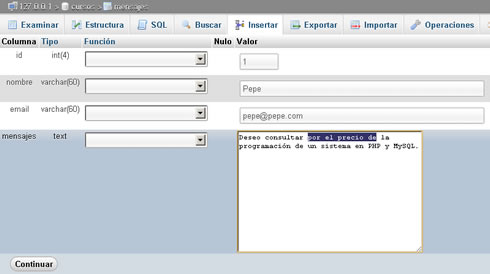
To add a first record with data within the fields of our table, in the link we will click on "Insert":

When doing so, it will be published in the same form, we will add one or two records:
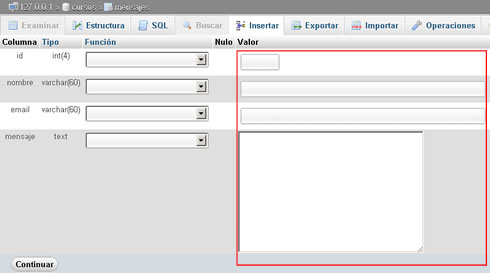
We will complete the data in the right area of the form, which is wrapped in a box in the previous image.
To the id field it will not be necessary to enter any value, although in the image we introduce a 1, we could perfectly leave it empty, since the MySQL manager program will assign a unique, successive value automatically (at the highest value in the id field) will add 1, and that will be the value that will put the id field of the new record)
This is because we have defined this field as "A_l" (auto-increment).
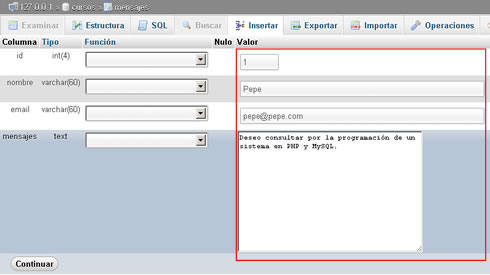
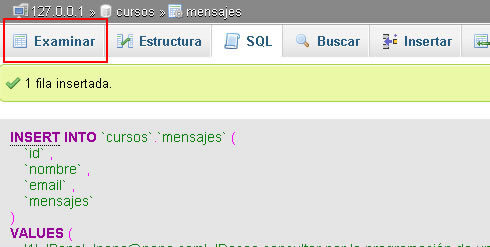
Once we click on "Continue", we will see a message that the row can be inserted, and the link of the word Examine will be enabled:
See a list with data
Press, then, the "Browse" link to see the contents of our table:
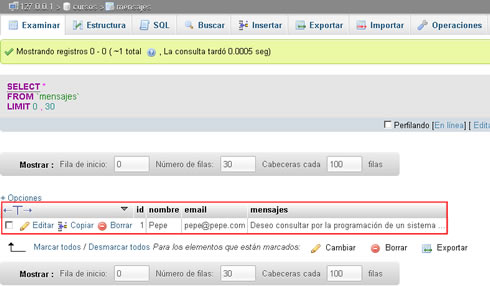
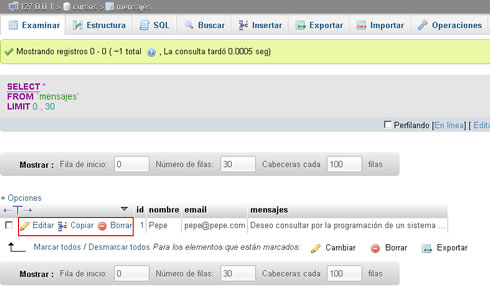
At the left end of the record (before the value 1 belonging to the id field) we will see two buttons, a pencil and a symbol in red.
The first "Edit" (modify) that record, the second "Delete" deletes the selected record.
Modify a record
If we want to modify the value of any of the fields of a record (due to a price field in a product, for example), we will press the corresponding pencil to the record (row) that we want to edit, and a form with the values of each field of this record already written; at that time, we will write or delete what we want, pressing, finally, in "Continue" to update the record permanently.
Delete a record
Before learning to delete a record, we will add at least one more record to the one we already have, so that our table is not empty after eliminating the -until now- only record that it has.
Once we add a record, we can delete one, simply by clicking on the red symbol located in the row of the record that we want to delete.

A warning will appear asking for our confirmation:
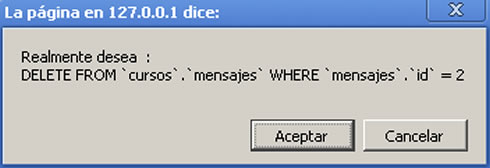
Once we accept, the record will definitely disappear from our table (use with caution)
Backup: How to export a table and re-import it
A very necessary task when we work with a database, is the possibility of taking both the structure and the data in a table to another computer (to a hosting, or to make a backup).
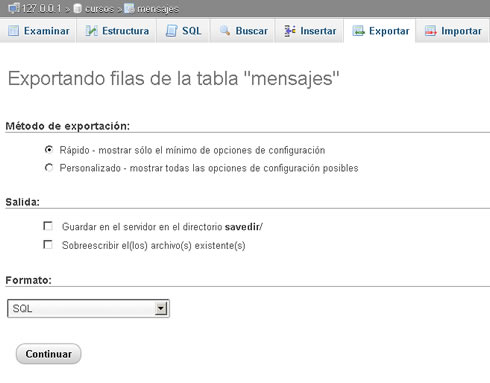
To do this, click on the Export link:

and then we will mark the options SQL, Structure, Data and Send.
These options will open a dialog box so that we can save a text file with the name of the table that we are exporting, with the extension .sql. For example, messages.sql.
This file contains all the commands written in SQL language, necessary to recreate in another server a table identical to the one we have exported.
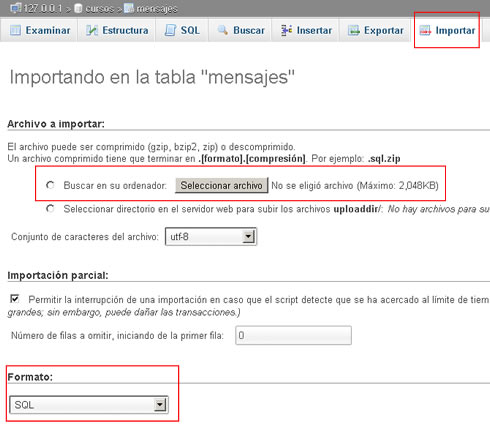
To this same file we can "Import it" in another phpMyAdmin of a hosting, or in case of using it as backup after some deletion of data, in this same server, simply going to the Import menu, and choosing this message.sql file, that we have left as a backup copy.
This will reconstruct the table with all its fields and with identical data types, and will load inside it all the data (records) that the original table had stored at the moment in which we exported it.
Next, before going on to program our first PHP pages that read data hosted in a database, we will go a little deeper into the types of data to use attributes to control with greater precision what will be the content of our fields.
CITE ARTICLE
For homework, research, thesis, books, magazines, blogs or academic articles
APA Format Reference:
Delgado, Hugo. (2019).
Uploads, deletions and modifications to phpMyAdmin databases.
Retrieved Nov 11, 2025, from
https://disenowebakus.net/en/crud-phpmyadmin


